‘If Joomla! is Linux, then WordPress is Mac OS X. WordPress might offer only 90% of the features of Joomla!, but in most cases WordPress is both easier to use and faster to get up and running.’
Over the course of the last few years, I’ve been in charge of putting up a number of websites for various companies, often as favors for friends. In most cases, I’ve ended up using one out of two solutions: Joomla! and WordPress. While both of these projects have evolved greatly over the last few years, they are vastly different. Joomla! has always been intended as a ‘fit-all-your-possible-needs’-kind of CMS solution, while WordPress was developed as a blog with CMS capabilities. Recently WordPress has opened up to allow its users to set up a site with static-only material (with the option of a blog-page), without having to hack the code. Hence it’s one step closer to being a direct competitor to Joomla!.
 |
 |
| Joomla!’s Control Panel |
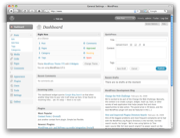
WordPress’ Dashboard |
I will probably step on a few peoples feelings here, but I will argue that Joomla! is an example of a poorly managed open source project and that WordPress is a very successfully managed one. Certainly I don’t mean that Joomla! is a useless piece of junk, but that the lead developers have quite a bit to learn from WordPress. The main thing that Joomla! is vastly behind on is usability. While it is true that Joomla! 1.5 is a step in the right direction, it is still light years behind WordPress. Let me illustrate with two examples of common tasks.
Example 1: Create a blog-post with an image
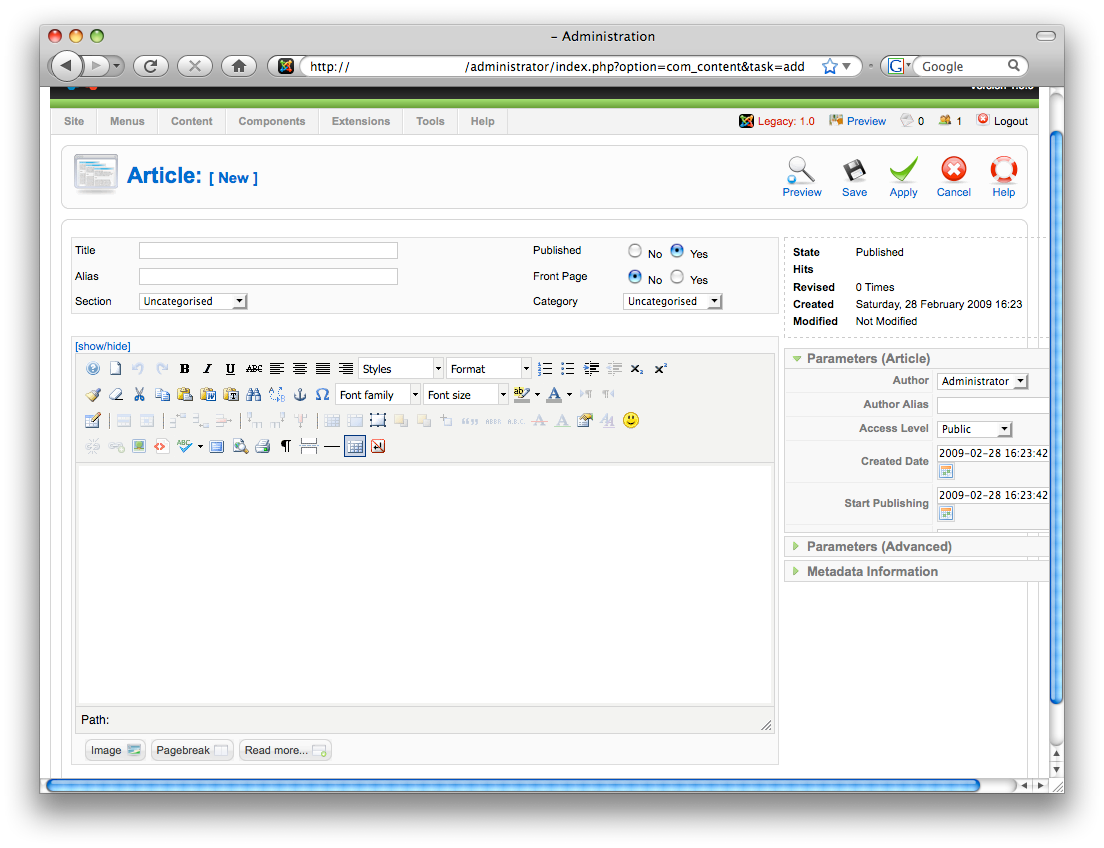
Joomla!
- From the ‘Control Panel,’ click ‘Add New Article.’
- There are two image buttons. If you use the wrong one, you won’t be able to upload an image (as you will only browse the existing images). You must use the one below the text field.
- Select a ‘Title,’ the right ‘Section’, and then the right ‘Category.’
- Write the content and save.
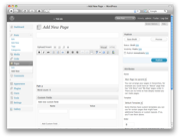
WordPress
- Select QuickPress in the Dashboard.
- Click on the image icon and upload the image.
- Select title, write your content and press publish.
 |
|
| ‘Add New Article’ in Joomla! |
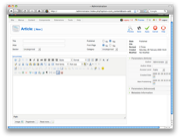
‘QuickPress’ in WordPress |
Example 2: Create a static page accessible from the menu
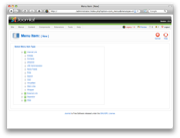
Joomla!
- From the ‘Control Panel,’ click ‘Add New Article.’
- Select a ‘Title,’ the right ‘Section’, and then the right ‘Category.’
- Write the content and save it.
- From the top-menu, select ‘Menu’ and ‘Main Menu’ (assuming you want to add it to the main menu.)
- Click ‘New.’
- Select ‘Internal link,’ and ‘Articles,’ and then finally ‘Article Layout.’
- Fill in the title of the object as well as the parent item.
- In the column to the right, you now need to browse your list of articles and select the desired article.
- Press ‘Save.’
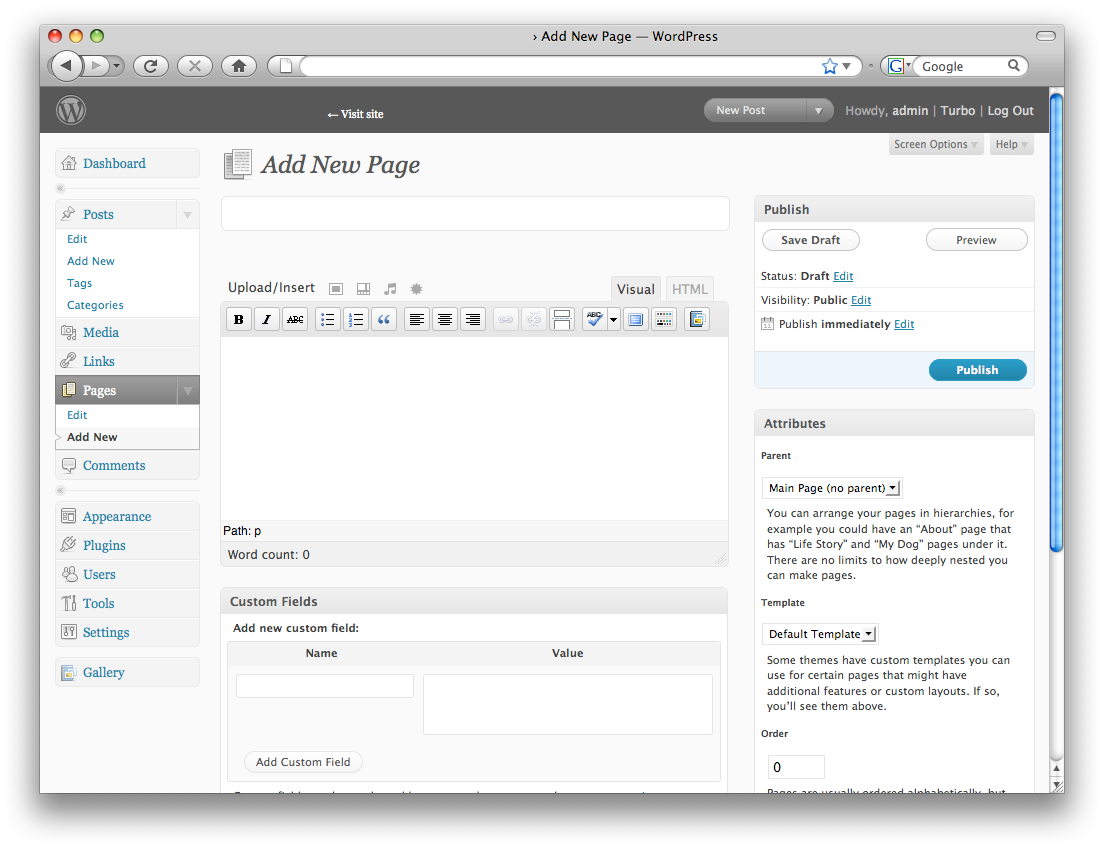
WordPress
- From the Dashboard, click ‘Pages.’
- Select ‘Add New.’
- Fill in the title and contents.
- Select the parent item (if other than root.)
- Click ‘Publish.’
|
 |
| ‘Add New Article’ in Joomla! |
‘Add New Page’ in WordPress |
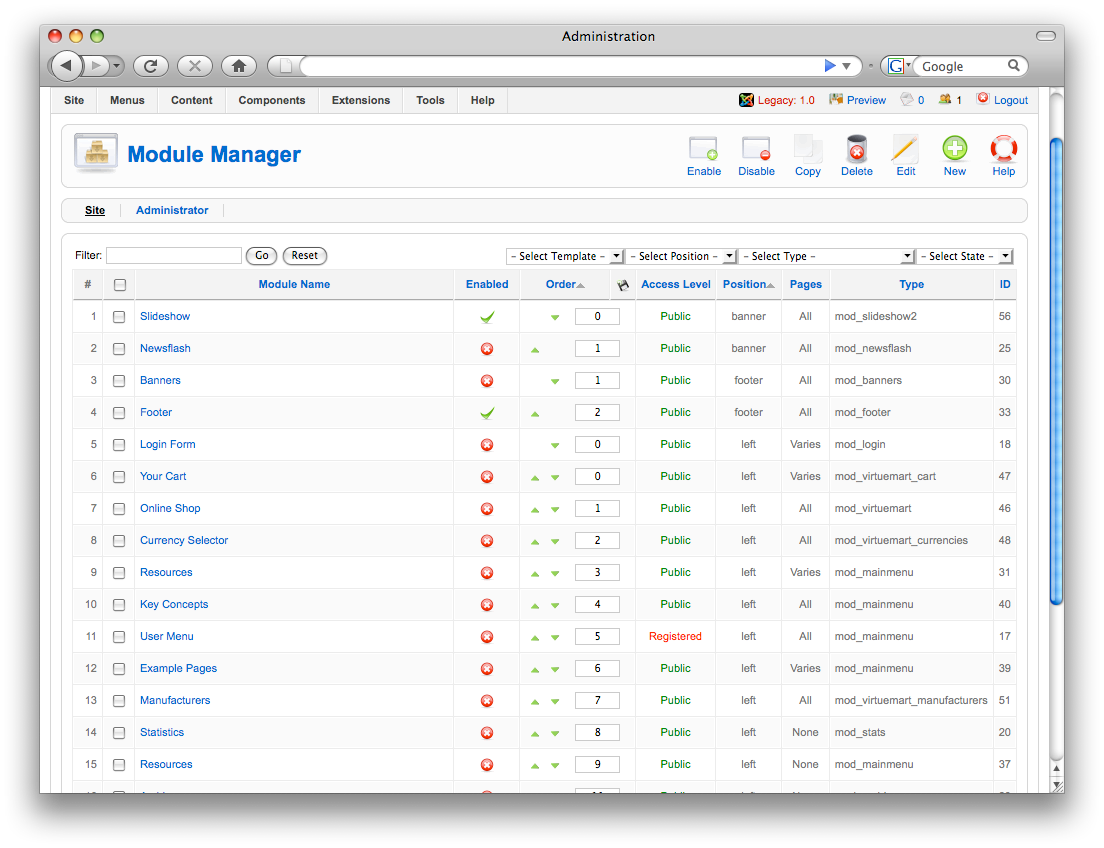
Let’s step back for a minute and imagine the following scenario: you’re in charge of putting up a website for a company. They might want to put up about 10 or so pages with various information. According to my experience this is a pretty common situation. You can do this with either Joomla! or WordPress – both are fully capable of delivering this. Assuming you’re going to buy a template to solve the design issue, it will probably take you about an hour with either of the software to get to the first draft (assuming you’ve been working with them in the past.) So far so good. This is where they start to differ. With WordPress you’re pretty much done by now. However, with Joomla!, you’ll probably have to spend another hour or two just trying to re-organize the different modules to fit the template you bought (in many cases, just to get the basics to work.) Next you will end up spending even more time trying to figure out how to re-organize the different menus. You need to link up a particular document to a particular menu-entry (as illustrated above.) If you want a blog-feed, you need to set up a dedicated section or category (I still don’t really know the difference between the two.) Moreover, you need to select the ‘style’ of blog you want.
 |
 |
‘New menu item’
in Joomla! |
‘Modules’ in Joomla! |
Let’s say you managed to figure all of that out and that you got the site ready. Now it’s time to hand over the site to the customer. There will obviously be some training involved, and here’s another crucial difference between Joomla! and WordPress. Training someone to learn WordPress takes (in my experience) less than 30 minutes, and they truly understand it. Training someone to use Joomla! takes at least an hour, and they still don’t really understand it.
Again, I’m not saying that Joomla! is useless, it’s that WordPress is a more intuitive piece of software. Let me throw an analogy out there that will probably help you better understand my point. If Joomla! is Linux, then WordPress is Mac OS X. WordPress might offer only 90% of the features of Joomla!, but in most cases WordPress is both easier to use and faster to get up and running. I use and love Linux, it just doesn’t have that elegant touch to Mac OS X does.
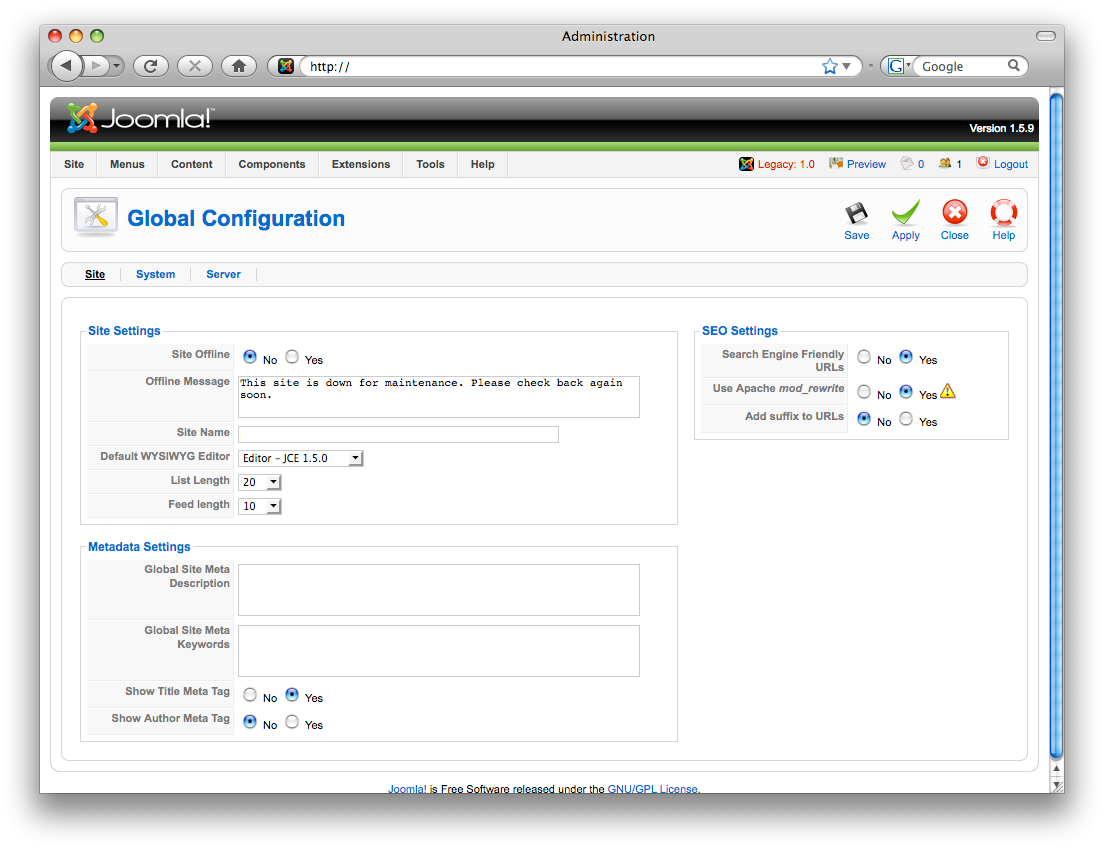
To Joomla!’s defense, there are at least two scenarios I can think of where Joomla! is a better fit than WordPress. The first one would be eCommerce. If you install VirtueMart on Joomla! you can be up running with an eCommerce site pretty quickly. However, the problem is that it does not feel like it is a part of Joomla!, but rather as a 3rd party module that works in Joomla! (which is pretty much what it is.) The second one would be a site where you need to have multiple levels of permissions (ie. an extranet). WordPress only offers three levels of permission (public, private, and password protected), while Joomla! is much more flexible.
 |
 |
‘Global Configuration’
in Joomla! |
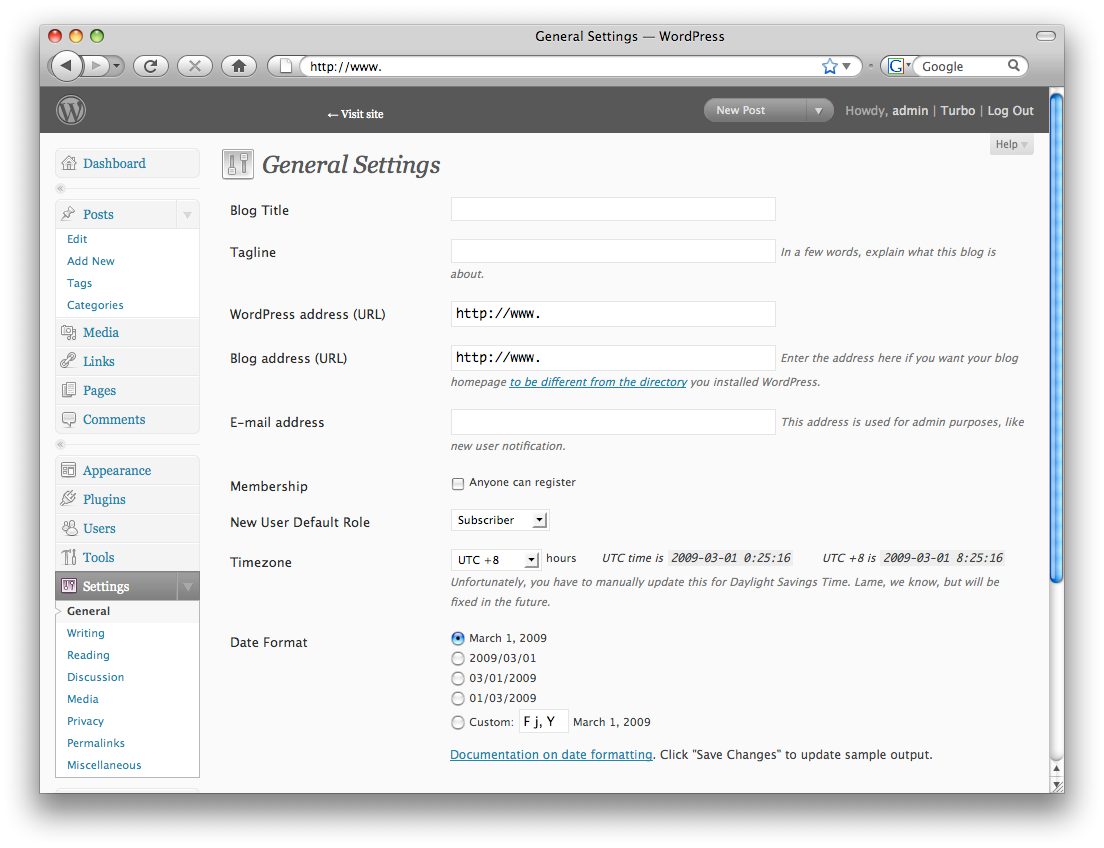
‘General Settings’
in WordPress |
Joomla! is not doomed. It just has a long way to go when it comes to usability. WordPress has really been developed by the KISS-principle, while Joomla! appears to have been developed to solve every problem on Earth (by engineers, for engineers). Going back to the two problems I mentioned above, where Joomla! beats WordPress. I think it would actually be less of a challenge to add support for eCommerce and more permission levels to WordPress, than it would be to improve the usability in Joomla! to reach WordPress’ level.
Just as a side note, a quick line-count on the latest versions of both software reveals that Joomla 1.5.9 has 350,975 lines of codes, while WordPress 2.7.1 has a mere 159,682 (might not be completely accurate, but that’s what ‘wc -l’ said). Hence, even if WordPress only offers 70% of the features of Joomla!, which I am pretty sure it does, their code is written much more efficiently.
Author: Viktor Petersson Tags: internet,
Joomla,
open source,
usability,
WordPress