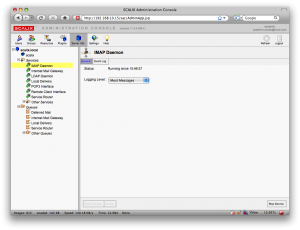
Scalix Admin
Ok, let’s get started.
First, install CentOS 5.3 as normal. In the software selection, we only selected ‘Server’ and deselect everything else (why people run X-windows on a server is beyond me). The only other thing to keep in mind is to use a static IP and a fully qualified domain name (FQDN).
Once you got your system up and running, we need to make a few changes to the default setup. Login using SSH or the console and run:
# system-config-securitylevel-tui
You will need to disable ‘SELinux’ as well as configuring the firewall according to your needs.
Next we need to trick Scalix into believing that you are running RHEL instead of CentOS. This is pretty easy:
# cp /etc/redhat-release /etc/redhat-release.orig
# echo ‘Red Hat Enterprise Linux Server release 5 (Tikanga)’ > /etc/redhat-release
We also need to make sure your hostname is listed in /etc/hosts under its IP (and not under 127.0.0.1). An example of a proper line is :
xxx.yyy.zzz.nnn server.example.org server
Now, let’s get started with installing Scalix. We start by upgrading the system and installing a few dependencies.
# yum -y upgrade
# yum install -y tk cyrus-sasl-md5 cyrus-sasl-plain sendmail-cf postgresql-server postgresql-libs mx compat-libstdc++-296
Assuming you’ve already downloaded Scalix onto the machine, all you need to launch the installer
# chmod +x scalix-11.4.4-GA-enterprise-redhat-intel.bin && ./scalix-11.4.4-GA-enterprise-redhat-intel.bin
After you are done answering all the questions, you should be able to access your brand new Scalix installation from your browser.
Good Luck!
Update: As Michael points out, the step of ‘tricking Scalix that you are running RHEL’ is not necessary. Thanks Michael.
Update 2: If you want to take Scalix for a spin without actually having to install it, we have created a Virtual Machine with Scalix installed that can be downloaded here.
Author: Viktor Petersson Tags: Email, guide, Linux, Scalix
